Surface Preparation

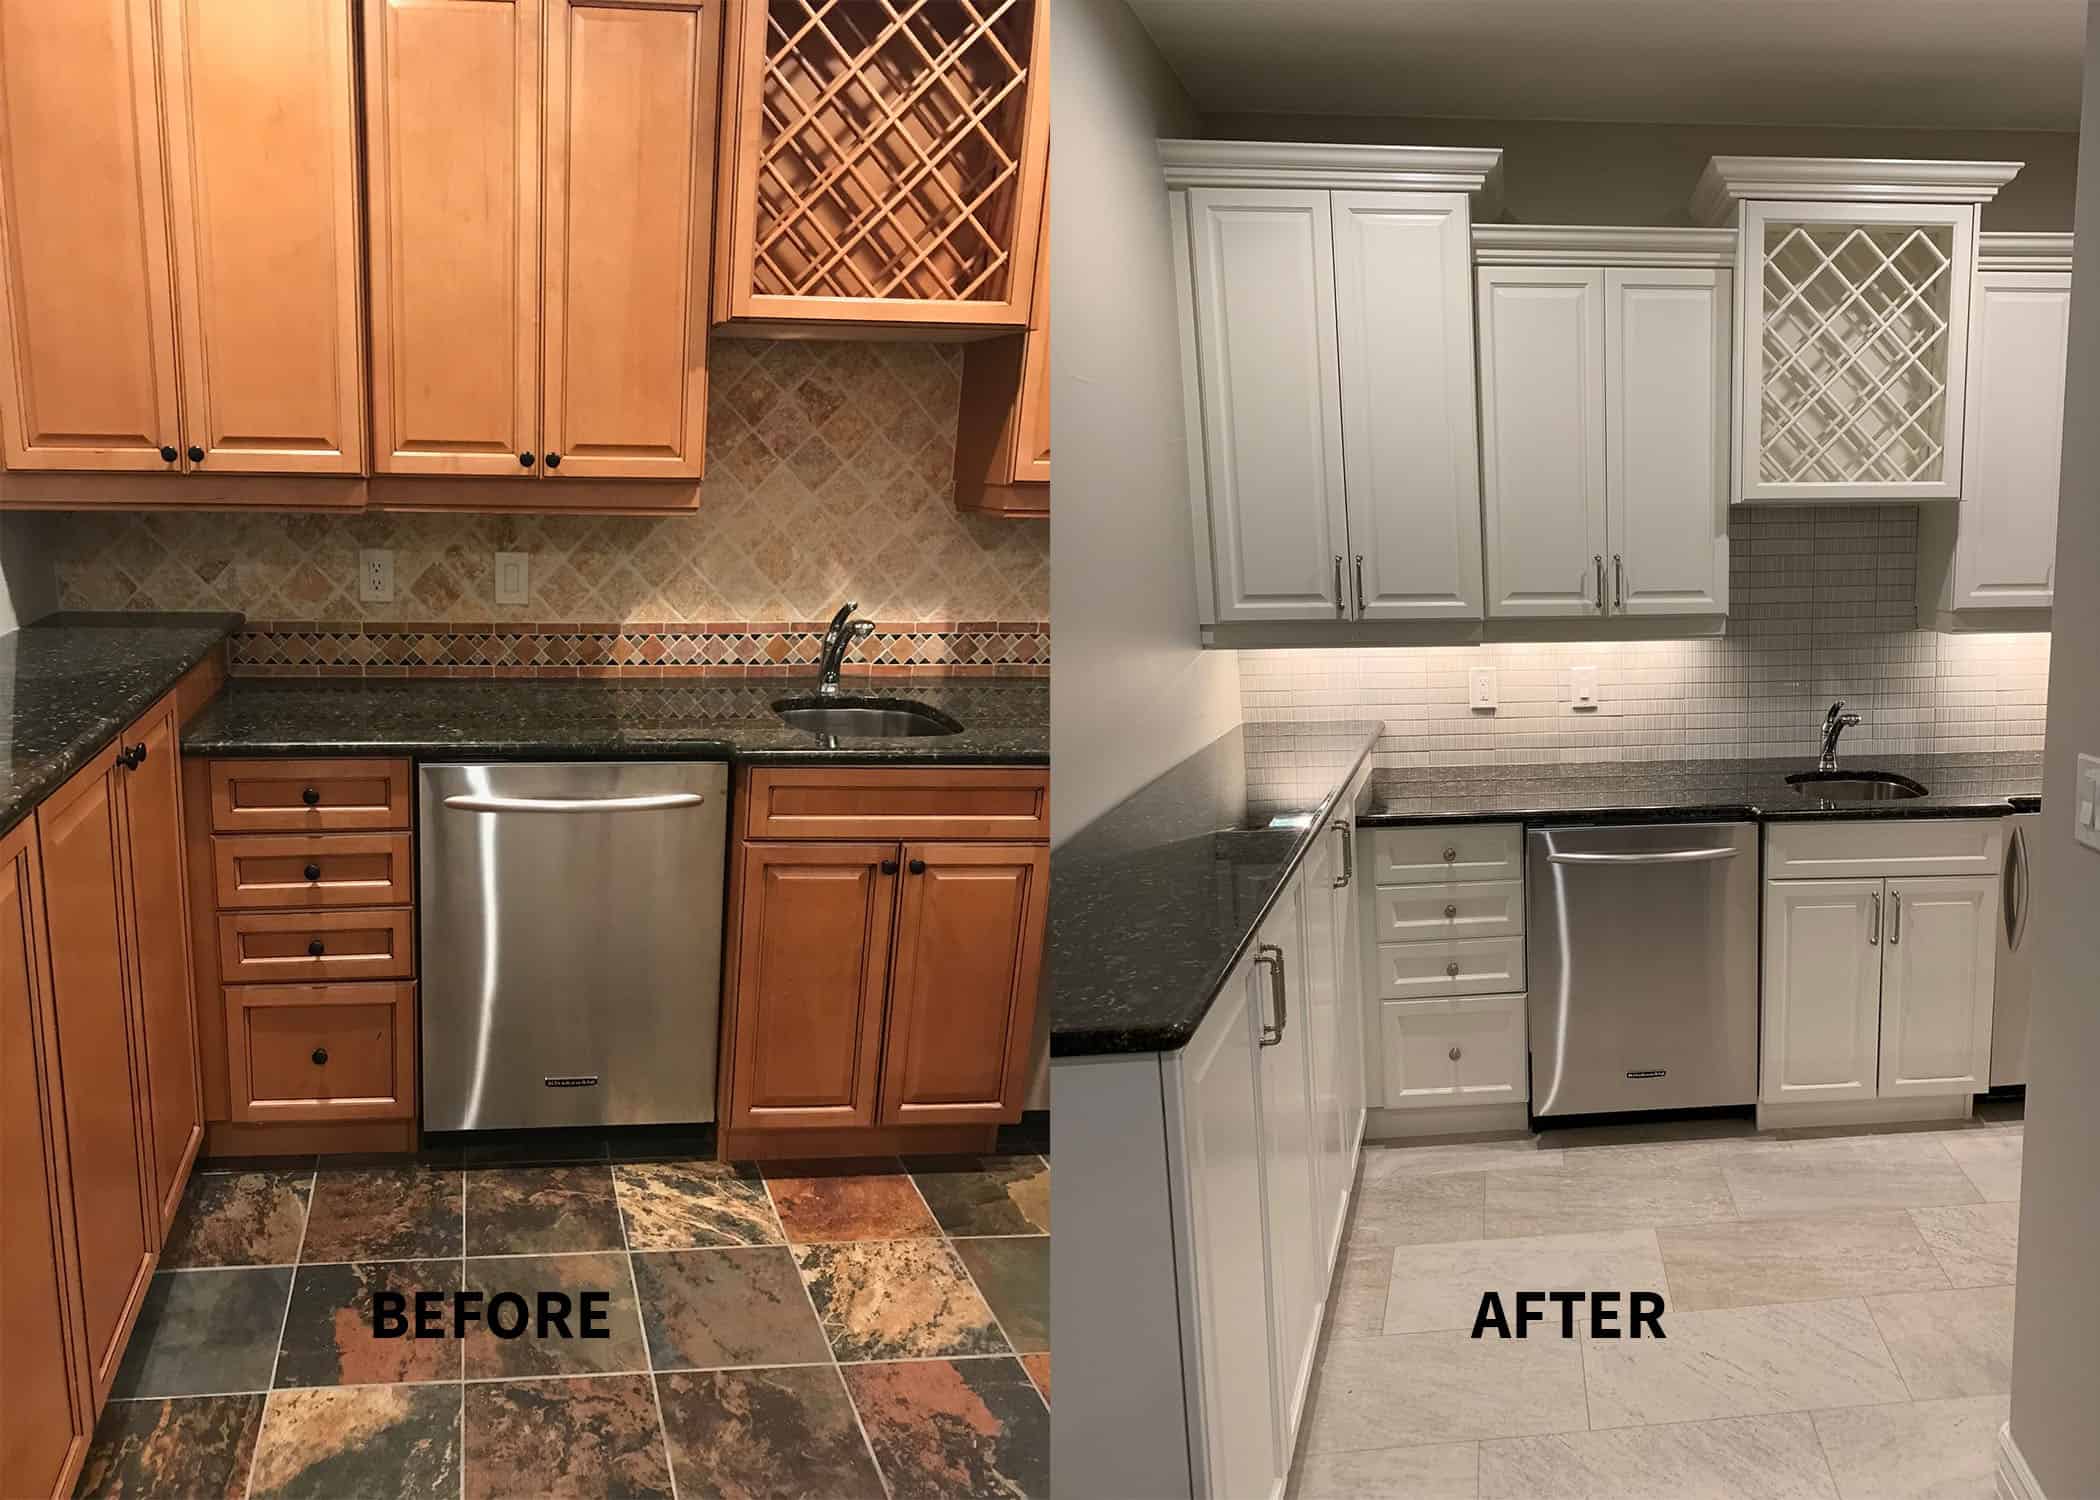
Proper surface preparation is paramount to achieving a durable and aesthetically pleasing paint finish on kitchen cabinets. A clean, smooth surface ensures optimal paint adhesion, preventing peeling, chipping, and other imperfections that can compromise the longevity of the project. This section details the necessary cleaning, repair, and sanding techniques for preparing cabinet surfaces for priming.
Cleaning Cabinet Surfaces
Thorough cleaning removes grease, grime, and other contaminants that can interfere with paint adhesion. Begin by removing all hardware, such as knobs, handles, and hinges. For most surfaces, a solution of warm water and a mild dish soap is sufficient. Apply the solution using a soft sponge or cloth, gently scrubbing to loosen dirt and grease. Rinse thoroughly with clean water and allow the cabinets to dry completely before proceeding. Stubborn grease may require a stronger degreaser, but always test in an inconspicuous area first to ensure it doesn’t damage the finish. After cleaning, inspect the surfaces for any remaining residue.
| Cleaning Method | Suitable Finishes | Advantages | Disadvantages |
|---|---|---|---|
| Warm water and mild dish soap | Most finishes (laminate, wood, melamine) | Safe, readily available, inexpensive | May not remove stubborn grease |
| Degreaser (e.g., TSP substitute) | Most finishes (test in inconspicuous area first) | Effective at removing grease and grime | Can be harsh on some finishes; requires thorough rinsing |
| Tri-sodium phosphate (TSP) | Wood, some painted finishes (use with caution and proper ventilation) | Powerful cleaner; removes years of built-up grime | Highly alkaline; requires thorough rinsing and proper ventilation; may damage certain finishes |
| Magic Eraser | Melamine, laminate (use gently) | Effective at removing scuff marks and minor stains | Can be abrasive; may scratch delicate surfaces |
Repairing Cabinet Surface Imperfections
Common imperfections such as chips, scratches, and dents require repair before painting. These imperfections can compromise the smooth surface necessary for proper paint adhesion.
- Chips: Small chips can be filled using wood filler appropriate for the cabinet material. Apply the filler, allow it to dry completely according to the manufacturer’s instructions, and then sand smooth.
- Scratches: Shallow scratches can often be sanded out. Deeper scratches may require wood filler, followed by sanding.
- Dents: Dents can be carefully filled with wood filler. For deeper dents, you may need to use a putty knife to press the filler into the depression before sanding.
Sanding Cabinet Surfaces
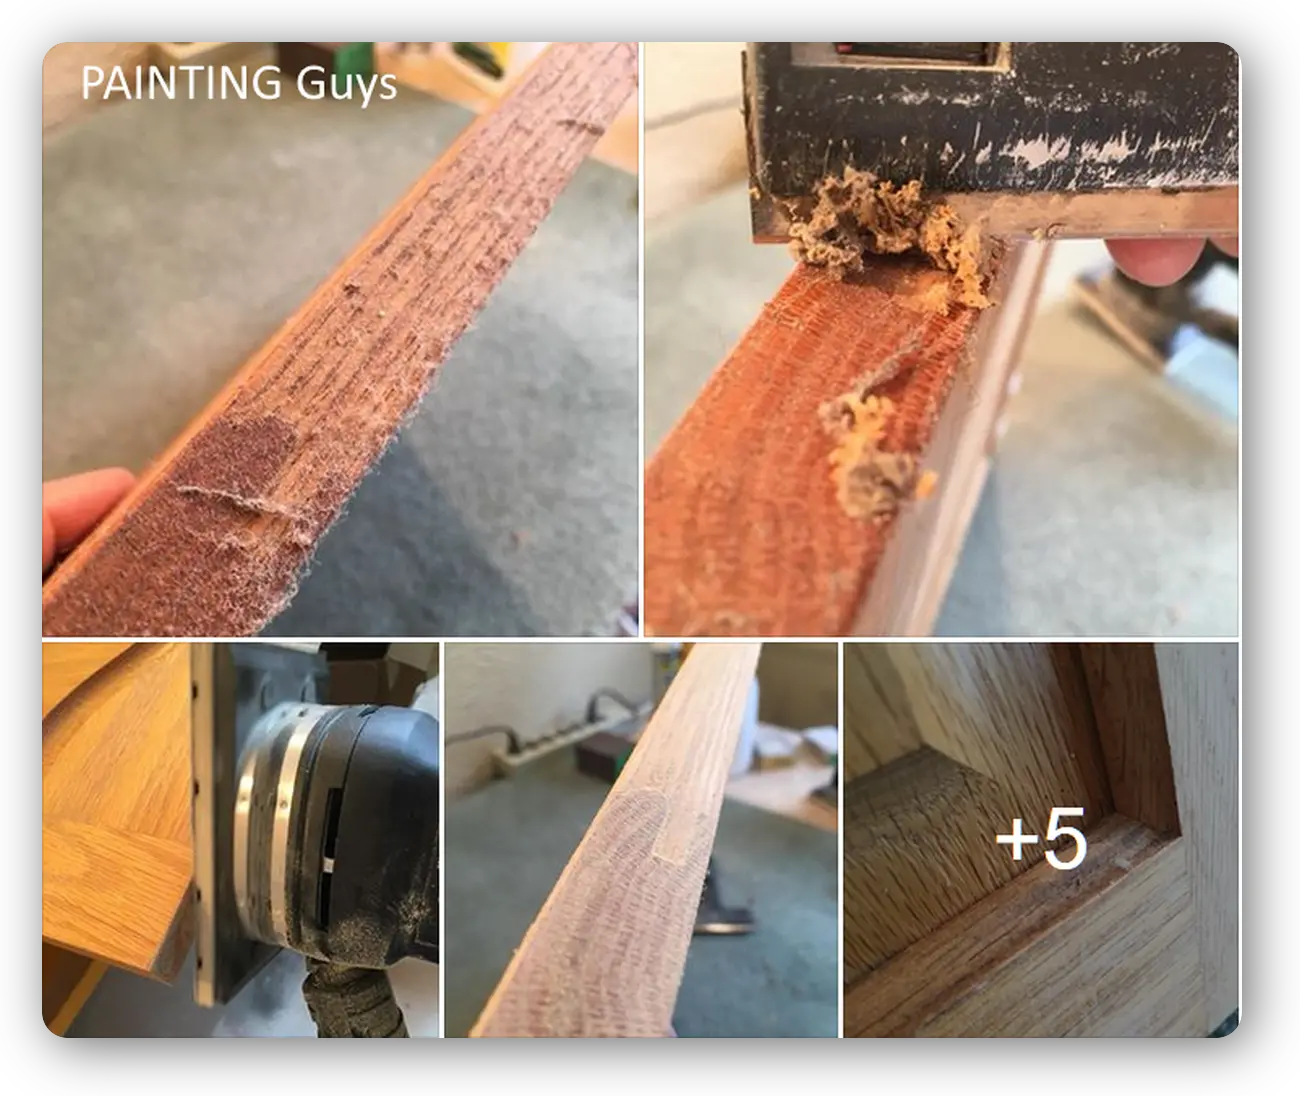
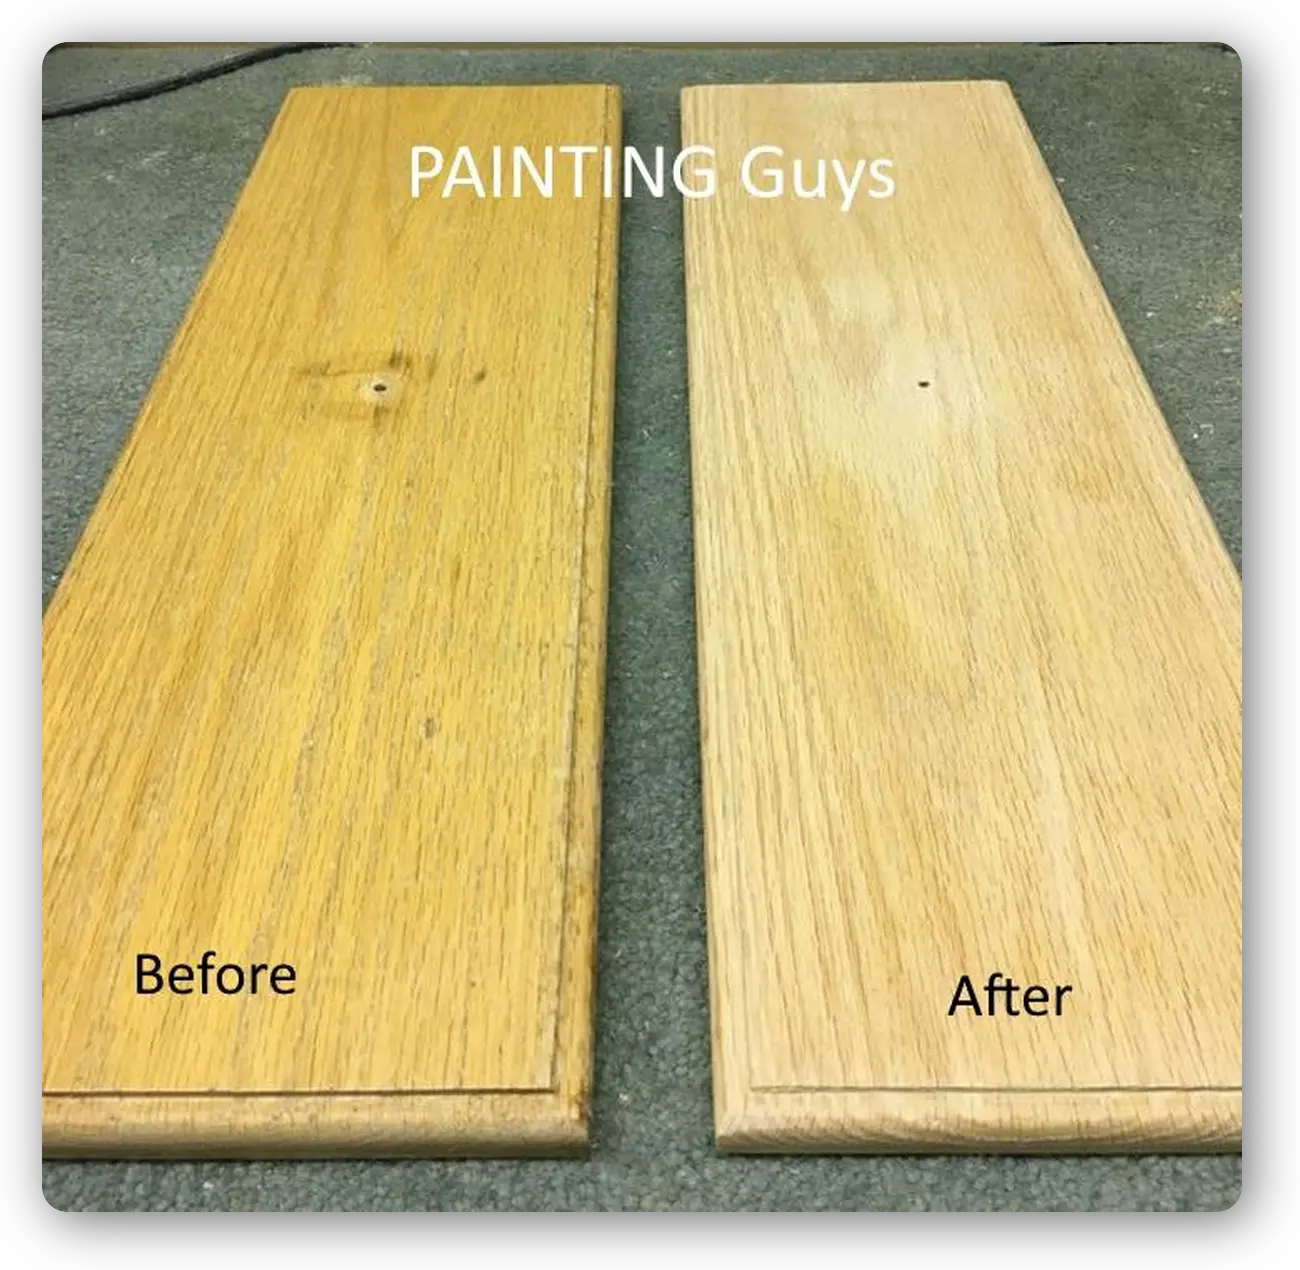
Sanding creates a smooth, even surface for optimal paint adhesion. Multiple grits of sandpaper are typically used, progressing from coarser to finer grits to achieve a smooth finish.
- Coarse Grit (80-120 grit): This grit is used to remove significant imperfections, such as raised grain, filler residue, and stubborn paint. Use this grit sparingly to avoid removing too much material.
- Medium Grit (150-180 grit): This grit smooths out the surface after using the coarser grit, removing any remaining imperfections and preparing the surface for finer sanding.
- Fine Grit (220-320 grit): This grit provides a final smoothing, creating an extremely smooth surface ready for priming. Over-sanding with this grit can be avoided by feeling the surface and only sanding areas that feel rough.
Primer Selection and Application: How To Prime Cabinets For Painting

The appropriate selection and application of primer is crucial for achieving a durable and aesthetically pleasing painted finish on kitchen cabinets. Primer acts as a bonding agent between the cabinet surface and the topcoat paint, improving adhesion, blocking stains, and providing a uniform base for even color distribution. Careful consideration of primer type and application technique is essential for optimal results.
Primer Type Comparison, How to prime cabinets for painting
Selecting the correct primer depends on the substrate (cabinet material) and desired finish. Three common types are oil-based, water-based, and shellac-based primers. Each offers unique advantages and disadvantages.
| Primer Type | Advantages | Disadvantages | Suitable for |
|---|---|---|---|
| Oil-Based | Excellent adhesion, durable, blocks stains effectively, good for porous surfaces. | Strong odor, long drying time, requires mineral spirits for cleanup, may yellow over time. | Wood, MDF, especially knotty pine or other wood with significant resin content. |
| Water-Based | Low odor, fast drying time, easy cleanup with soap and water, less likely to yellow. | May require multiple coats for optimal stain blocking, less durable than oil-based in some cases. | Wood, MDF, most cabinet surfaces. A good all-around choice. |
| Shellac-Based | Excellent for sealing knots and preventing bleed-through of tannins from wood, fast drying. | Less durable than oil-based or water-based for long-term wear, sensitive to moisture. | Wood, particularly surfaces prone to tannin bleed-through (e.g., oak, cherry). Often used as a primer *under* another primer type. |
Primer Application Techniques
Even primer application is vital to prevent imperfections in the final paint finish. Uneven application can lead to visible brushstrokes, drips, runs, and an uneven color distribution in the topcoat. Proper techniques minimize these issues.
Step-by-Step Primer Application (Brush and Roller)
- Preparation: Ensure the cabinet surfaces are clean, dry, and free of dust or debris. Lightly sand any imperfections. Protect surrounding areas with drop cloths.
- Primer Selection: Choose a primer appropriate for the cabinet material (refer to the table above).
- Brush Application: Apply a thin, even coat of primer using a high-quality brush, working in the direction of the wood grain. Avoid overloading the brush.
- Roller Application: Use a roller to apply primer to larger, flat surfaces, ensuring consistent coverage. Overlap strokes slightly to avoid streaks.
- Back-Rolling: Use a light back-rolling technique with the roller to remove excess primer and ensure even distribution. This helps to minimize runs and drips.
- Drying Time: Allow the primer to dry completely according to the manufacturer’s instructions. Adequate drying time is essential for proper adhesion and preventing problems with the topcoat.
Ventilation and Safety Precautions
Proper ventilation is crucial when working with primers, particularly oil-based and shellac-based varieties, due to their strong odors and potential release of volatile organic compounds (VOCs). Work in a well-ventilated area, preferably outdoors or with adequate ventilation systems (open windows, fans). Wear appropriate personal protective equipment (PPE), including safety glasses or goggles, a respirator (especially when working with oil-based primers), and gloves to protect your skin and respiratory system from fumes and splashes. Dispose of used materials and containers responsibly according to local regulations.
Advanced Techniques and Troubleshooting

Priming kitchen cabinets, especially those with intricate details or challenging access points, requires specialized techniques to ensure a flawless finish. Addressing common priming problems proactively prevents costly rework and guarantees a professional-looking result. This section details advanced application methods and troubleshooting strategies for successful cabinet priming.
Priming Intricate Details and Hard-to-Reach Areas
Priming cabinets with detailed carvings or molding presents unique challenges. Achieving complete coverage requires careful attention and the use of specialized tools. For deep carvings, a small artist’s brush or a detail brush with fine bristles allows for precise application of primer into crevices and recesses. A low-viscosity primer will flow more easily into these areas. For hard-to-reach areas, such as the inside corners of upper cabinets, consider using a flexible extension for your paint roller or employing a small foam brush for precise application. Employ a technique of “back-and-forth” brushing or rolling, ensuring the primer is worked thoroughly into all areas. Multiple thin coats are preferable to one thick coat, preventing runs and drips. Allow each coat to dry completely before applying the next. Visual inspection under good lighting is crucial to ensure thorough coverage. Imagine a small, angled brush expertly navigating the intricate curves of a Victorian-style cabinet door; this meticulous application guarantees the primer reaches every nook and cranny.
Troubleshooting Common Priming Problems
Uneven coverage, bubbling, and peeling are common problems encountered during cabinet priming. Understanding the causes and implementing appropriate solutions is vital for a successful project.
- Uneven Coverage: This often results from insufficient primer application or using a roller with too much pressure. Solution: Apply thin, even coats using a light touch. Multiple thin coats are better than one thick coat. Ensure the surface is properly prepared and clean before priming.
- Bubbling: Bubbling usually indicates trapped moisture or the application of primer over a wet surface. Solution: Allow the cabinets to dry completely before priming. Ensure good ventilation during the drying process. If bubbling occurs, lightly sand the affected area and re-prime.
- Peeling: Peeling is usually a result of poor surface preparation, such as applying primer to a greasy or dusty surface, or using a primer incompatible with the existing finish. Solution: Thoroughly clean and degrease the cabinets before priming. Use a primer designed for the specific type of surface being primed (e.g., oil-based primer for glossy surfaces). If peeling persists, it may be necessary to remove the existing finish completely before re-priming.
